


Keszoox
D1 WiFi Development Board — ESP-12F/ESP-12E, UNO Form Factor, ESP8266, Arduino IDE
D1 WiFi Development Board ESP-12F/ESP-12E, UNO Form Factor, ESP8266, Arduino IDE

Couldn't load pickup availability
D1 WiFi Development Board — ESP-12F / ESP-12E, Arduino UNO Form Factor, ESP8266
The D1 WiFi board integrates an ESP-12F (or ESP-12E) ESP8266 WiFi module onto an Arduino UNO-compatible form factor PCB, with a CH340 USB-to-UART chip for direct USB programming, onboard 3.3V regulator, and 5V input via USB or barrel jack. With 11 digital GPIO pins, 1 analog input, and full Arduino IDE compatibility, it is the easiest way to add WiFi to Arduino UNO-compatible shields and projects without any hardware modification.
Key Specifications
| Parameter | Value |
|---|---|
| WiFi Module | ESP-12F (ESP8266EX SoC) |
| WiFi Standard | 802.11 b/g/n, 2.4GHz |
| Flash Memory | 4MB |
| Digital GPIO | 11 pins (3.3V logic) |
| Analog Input | 1× ADC (0–3.2V, 10-bit) |
| USB Interface | CH340G USB-to-UART (Micro USB) |
| Supply Voltage | 5V (USB or barrel jack) |
| Onboard Regulator | 3.3V / 500mA LDO |
| Form Factor | Arduino UNO compatible (same header positions) |
| Operating Temperature | -40°C to +85°C |
D1 WiFi vs NodeMCU vs Wemos D1 Mini
| Feature | D1 WiFi (UNO form) | NodeMCU v3 | Wemos D1 Mini |
|---|---|---|---|
| Form factor | Arduino UNO | Custom (30-pin) | Mini (27×34mm) |
| Shield compatible | Yes (UNO shields) | No | D1 Mini shields only |
| GPIO count | 11 | 11 | 11 |
| USB chip | CH340G | CH340G / CP2102 | CH340G |
| Best for | UNO shield reuse, Arduino migration | Breadboard prototyping | Compact IoT nodes |
Why Choose D1 WiFi Board?
- Arduino UNO form factor — reuse existing Arduino UNO shields (sensor shields, relay shields, display shields)
- Plug-and-play USB programming — CH340G handles USB-to-UART, no external programmer needed
- 4MB flash — sufficient for OTA updates and large Arduino sketches with WiFi libraries
- 5V input — powers from standard USB charger or Arduino-compatible 5V barrel jack
- Full Arduino IDE support — program with ESP8266 board package, same as NodeMCU
Compatible With
- Arduino IDE: ESP8266 board package, select “WeMos D1 R1” or “Generic ESP8266” board
- Arduino UNO shields: Sensor shields, relay shields, LCD shields (note: 3.3V GPIO, not 5V tolerant)
- MicroPython: Official ESP8266 MicroPython firmware
- ESPHome / Home Assistant: Direct smart home integration
- Libraries: ESP8266WiFi, ESP8266HTTPClient, PubSubClient (MQTT), ArduinoOTA
Frequently Asked Questions
Q: Are D1 WiFi GPIO pins 5V tolerant like Arduino UNO?
A: No — ESP8266 GPIO pins are 3.3V logic and NOT 5V tolerant. Applying 5V to any GPIO pin will damage the ESP8266. When using Arduino UNO shields, ensure all shield signals are 3.3V compatible or use level shifters. The D1 WiFi board’s 5V pin is for power only, not for GPIO signals.
Q: How do I install the CH340 driver for D1 WiFi on Windows?
A: Download the CH340 driver from the manufacturer website (WCH.cn). Install and restart. The D1 WiFi will appear as a COM port in Device Manager. In Arduino IDE, select the correct COM port and choose “WeMos D1 R1” as the board. Upload speed: 115200 baud.
Q: Can I use Arduino UNO relay shields with D1 WiFi?
A: Yes, with caution. Most relay shields use optocouplers that accept 3.3V input signals, so they work with D1 WiFi GPIO. However, verify the relay shield’s input logic level before connecting. Relay shields that require 5V HIGH signal to trigger will not work reliably with 3.3V GPIO output.
Package Contents
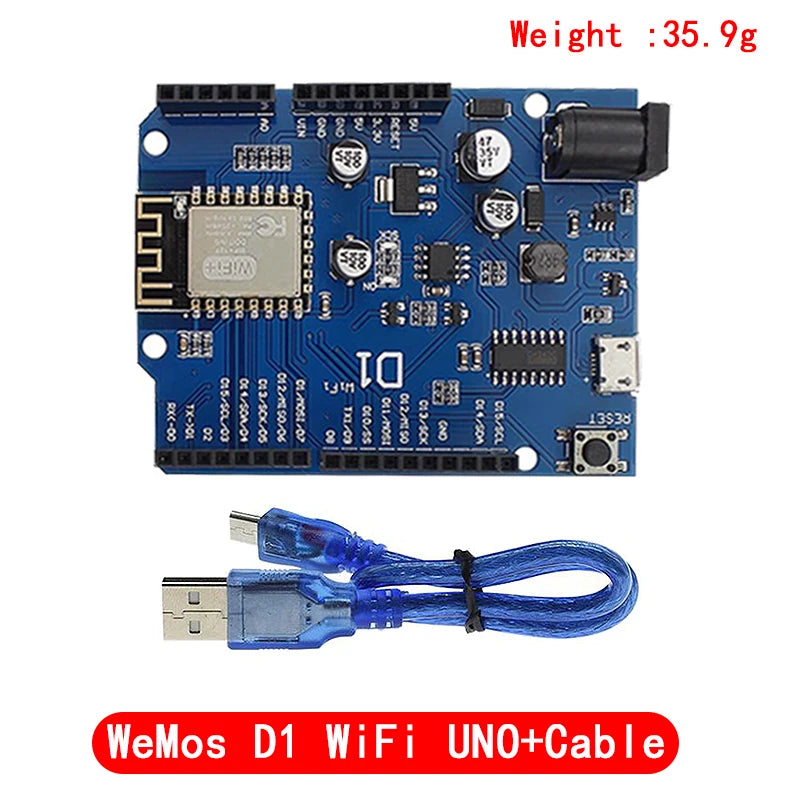
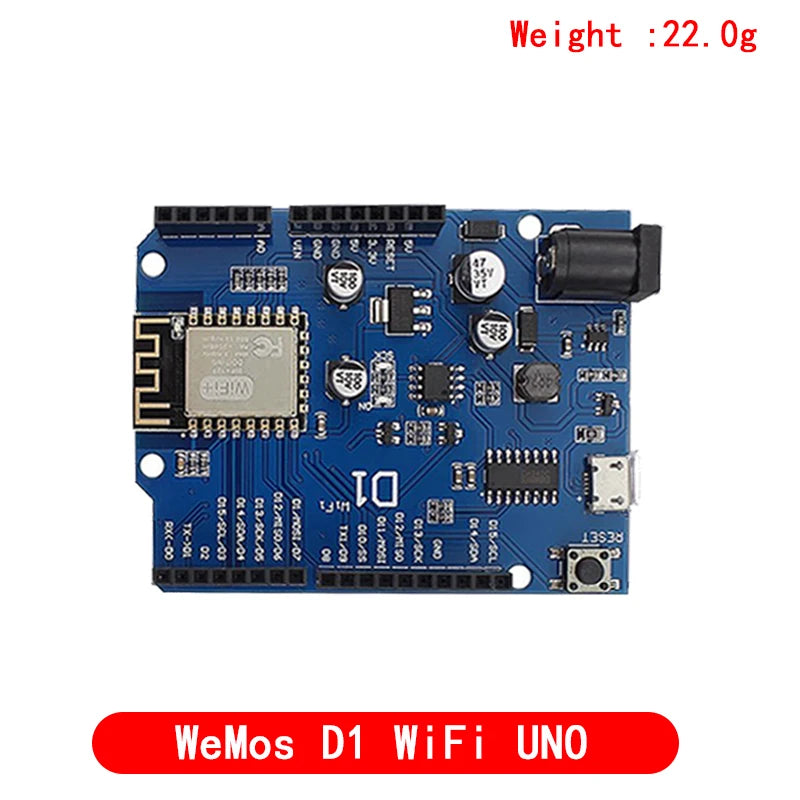
- 1× D1 WiFi Development Board (ESP-12F/ESP-12E, Arduino UNO form factor)


- ★Product Description
- ★About us
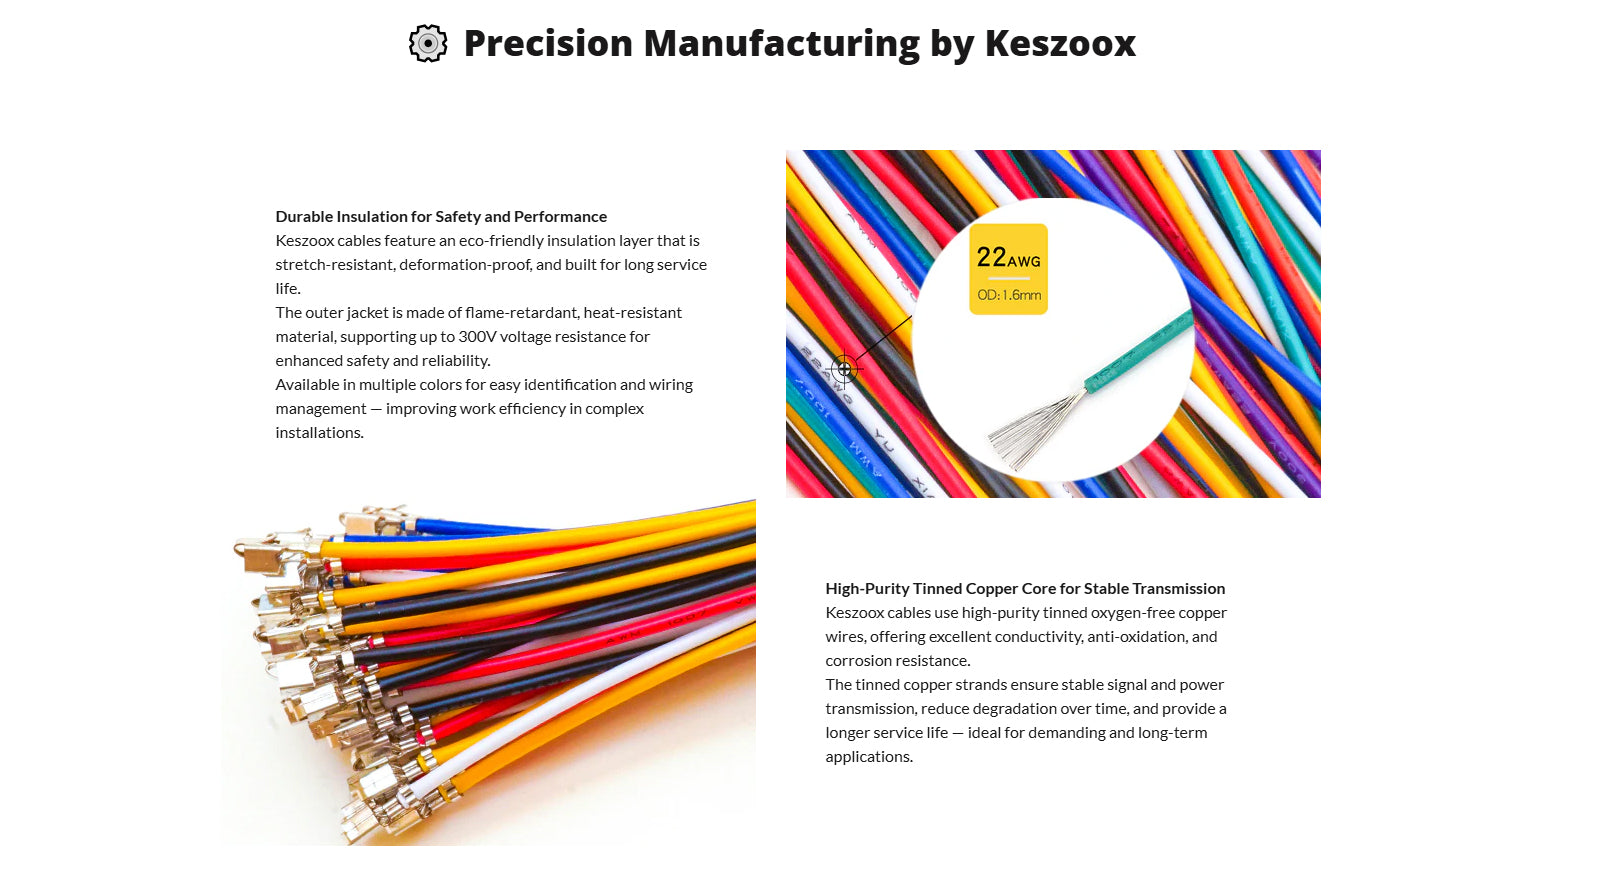
- ★Custom cable
D1 WiFi Development Board — ESP-12F / ESP-12E, Arduino UNO Form Factor, ESP8266
The D1 WiFi board integrates an ESP-12F (or ESP-12E) ESP8266 WiFi module onto an Arduino UNO-compatible form factor PCB, with a CH340 USB-to-UART chip for direct USB programming, onboard 3.3V regulator, and 5V input via USB or barrel jack. With 11 digital GPIO pins, 1 analog input, and full Arduino IDE compatibility, it is the easiest way to add WiFi to Arduino UNO-compatible shields and projects without any hardware modification.
Key Specifications
| Parameter | Value |
|---|---|
| WiFi Module | ESP-12F (ESP8266EX SoC) |
| WiFi Standard | 802.11 b/g/n, 2.4GHz |
| Flash Memory | 4MB |
| Digital GPIO | 11 pins (3.3V logic) |
| Analog Input | 1× ADC (0–3.2V, 10-bit) |
| USB Interface | CH340G USB-to-UART (Micro USB) |
| Supply Voltage | 5V (USB or barrel jack) |
| Onboard Regulator | 3.3V / 500mA LDO |
| Form Factor | Arduino UNO compatible (same header positions) |
| Operating Temperature | -40°C to +85°C |
D1 WiFi vs NodeMCU vs Wemos D1 Mini
| Feature | D1 WiFi (UNO form) | NodeMCU v3 | Wemos D1 Mini |
|---|---|---|---|
| Form factor | Arduino UNO | Custom (30-pin) | Mini (27×34mm) |
| Shield compatible | Yes (UNO shields) | No | D1 Mini shields only |
| GPIO count | 11 | 11 | 11 |
| USB chip | CH340G | CH340G / CP2102 | CH340G |
| Best for | UNO shield reuse, Arduino migration | Breadboard prototyping | Compact IoT nodes |
Why Choose D1 WiFi Board?
- Arduino UNO form factor — reuse existing Arduino UNO shields (sensor shields, relay shields, display shields)
- Plug-and-play USB programming — CH340G handles USB-to-UART, no external programmer needed
- 4MB flash — sufficient for OTA updates and large Arduino sketches with WiFi libraries
- 5V input — powers from standard USB charger or Arduino-compatible 5V barrel jack
- Full Arduino IDE support — program with ESP8266 board package, same as NodeMCU
Compatible With
- Arduino IDE: ESP8266 board package, select “WeMos D1 R1” or “Generic ESP8266” board
- Arduino UNO shields: Sensor shields, relay shields, LCD shields (note: 3.3V GPIO, not 5V tolerant)
- MicroPython: Official ESP8266 MicroPython firmware
- ESPHome / Home Assistant: Direct smart home integration
- Libraries: ESP8266WiFi, ESP8266HTTPClient, PubSubClient (MQTT), ArduinoOTA
Frequently Asked Questions
Q: Are D1 WiFi GPIO pins 5V tolerant like Arduino UNO?
A: No — ESP8266 GPIO pins are 3.3V logic and NOT 5V tolerant. Applying 5V to any GPIO pin will damage the ESP8266. When using Arduino UNO shields, ensure all shield signals are 3.3V compatible or use level shifters. The D1 WiFi board’s 5V pin is for power only, not for GPIO signals.
Q: How do I install the CH340 driver for D1 WiFi on Windows?
A: Download the CH340 driver from the manufacturer website (WCH.cn). Install and restart. The D1 WiFi will appear as a COM port in Device Manager. In Arduino IDE, select the correct COM port and choose “WeMos D1 R1” as the board. Upload speed: 115200 baud.
Q: Can I use Arduino UNO relay shields with D1 WiFi?
A: Yes, with caution. Most relay shields use optocouplers that accept 3.3V input signals, so they work with D1 WiFi GPIO. However, verify the relay shield’s input logic level before connecting. Relay shields that require 5V HIGH signal to trigger will not work reliably with 3.3V GPIO output.
Package Contents
- 1× D1 WiFi Development Board (ESP-12F/ESP-12E, Arduino UNO form factor)


- ♥Hear From Our Happy Customers
- ♥Verified Buyer Reviews
- ♥Trusted by Professionals and Engineers